10+ Healthy Sides To Eat With Chicken Tenders
When it comes to comfort food, chicken tenders often top the list. These bite-sized delights, typically made from chicken tenderloins, are not only delicious but also incredibly versatile. Whether you’re cooking them at home or enjoying them at your favorite restaurant, they make for a satisfying meal. Their mild flavor and tender texture make them a hit with both kids and adults. These healthy sides to eat with chicken tenders are easy to make, made with healthy grocery store items you most likely already have in the house.
Chicken tenders are part of the chicken tenderloin, which is the most tender and leanest part of the chicken. They are lower in fat compared to other cuts, making them a healthier choice. What makes them even better is that they are incredibly easy to cook. You can fry them to a crispy perfection, bake them for a healthier twist, or even use an air fryer to achieve that delightful crunch without excessive oil.
Whether enjoyed on their own or paired with fresh salads, chicken tenders continue to be the favorite chicken tender for many families.”

10 Healthy Sides To Eat With Chicken Tenders
Serving chicken tenders with the right side dishes can elevate your meal to new heights. Not only do these sides complement the flavor of the chicken tenders, but they also add variety to your plate. In addition, they allow you to experiment with different flavors and textures. Chicken tenders are a kid favorite, and when you’re looking for quick and easy healthy meals – adding healthy sides to chicken tenders is a great option.
In this guide, we’ve put together a collection of 10 healthy side dishes that pair perfectly with chicken tenders. Whether you’re looking for a lighter option, a pop of flavor, or a satisfying accompaniment, you’ll find something that suits your taste. These recipes are easy to follow, and you can also make them at home.
1. Sweet Potato Fries
Ingredients:
- Sweet potatoes
- Olive oil
- Seasonings of your choice (paprika, garlic powder, or rosemary work well)
Instructions:
Step 1: Preparing the Sweet Potatoes
Start by peeling the sweet potatoes and cutting them into evenly sized chunks. Rinse the sweet potato chunks in cold water to remove any excess starch.
Step 2: Seasoning
In a large bowl, toss the sweet potato chunks with a drizzle of olive oil. Sprinkle your favorite seasoning over the sweet potatoes. You can use a mix of salt, pepper, and any other seasonings you prefer, like paprika or garlic powder.
Step 3: Baking
Preheat your oven to 425°F (220°C). Arrange the seasoned sweet potatoes on a baking sheet in a single layer.
Bake in the preheated oven for about 25-30 minutes or until they are golden brown and tender. You can toss them halfway through baking for even cooking.
Step 4: Serving
Once baked, serve the roasted sweet potatoes as a delightful side dish to complement your chicken tenders. They’ll be a delicious balance of sweet and savory, making them a favorite choice for all ages.
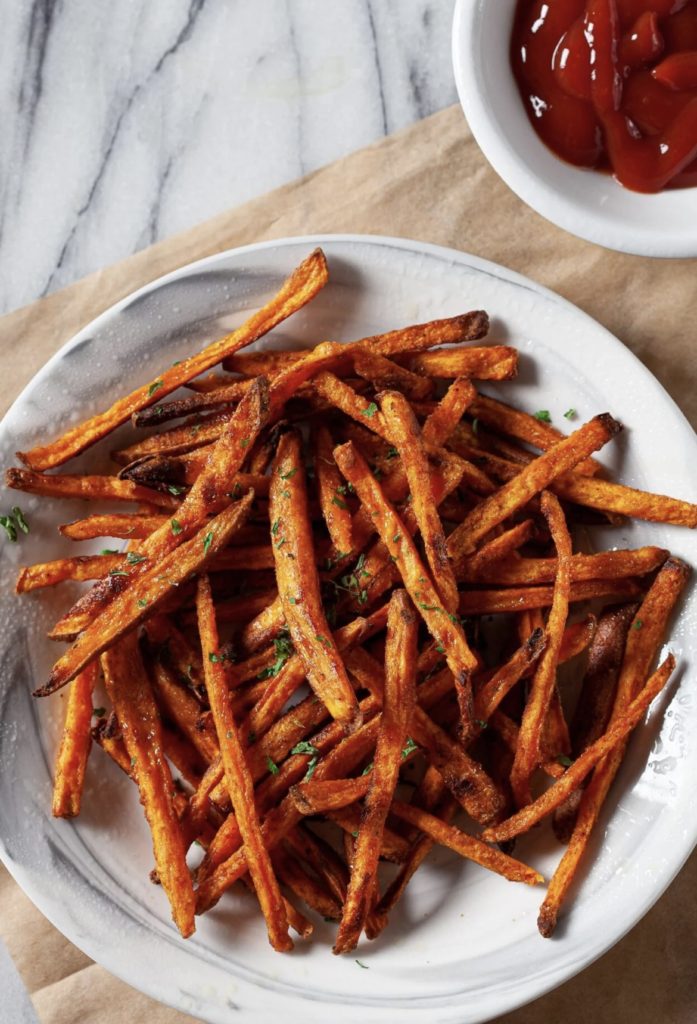
Sweet potato fries offer a healthier twist to classic French fries. They’re rich in vitamins, fiber, and antioxidants. The slightly sweet and savory flavors complement the mild taste of chicken tenders.
2. Green Bean Almondine
Ingredients:
- Fresh green beans
- Sliced almonds
- Olive oil
- Lemon juice
- Garlic
- Salt and pepper
Instructions:
Step 1: Preparing the Green Beans
Begin by washing and trimming the ends of fresh green beans.
To enhance their vibrant color and maintain crispness, blanch the green beans in boiling water for a few minutes. Then, transfer them to a bowl of ice water to halt the cooking process.
Step 2: Toasting Almonds
In a separate pan or skillet, add the sliced almonds. Next, toast the almonds over medium heat until they turn a lovely golden color. This process enhances their nutty flavor and adds a delightful crunch.
Step 3: Sautéing with Garlic
In a skillet, heat olive oil over medium-high heat. Add minced garlic to the skillet and sauté it briefly until it becomes fragrant.
Step 4: Combining Green Beans and Almonds
Now, add the blanched green beans and toasted almonds to the skillet with the garlic.
Sauté this flavorful combination for a few more minutes, ensuring that the green beans are well-coated in the garlicky oil.
Step 5: Drizzling with Lemon Juice and Seasoning
Next, drizzle the green bean almondine with fresh lemon juice for a zesty and citrusy touch. Season the dish with a pinch of salt and a sprinkle of pepper, to taste.
Step 6: Serving with Chicken Tenders
The Green Bean Almondine is now ready to be served. Its crispy almonds, savory garlic, and zesty lemon juice make it a perfect side dish to accompany your tender and delicious chicken tenders.
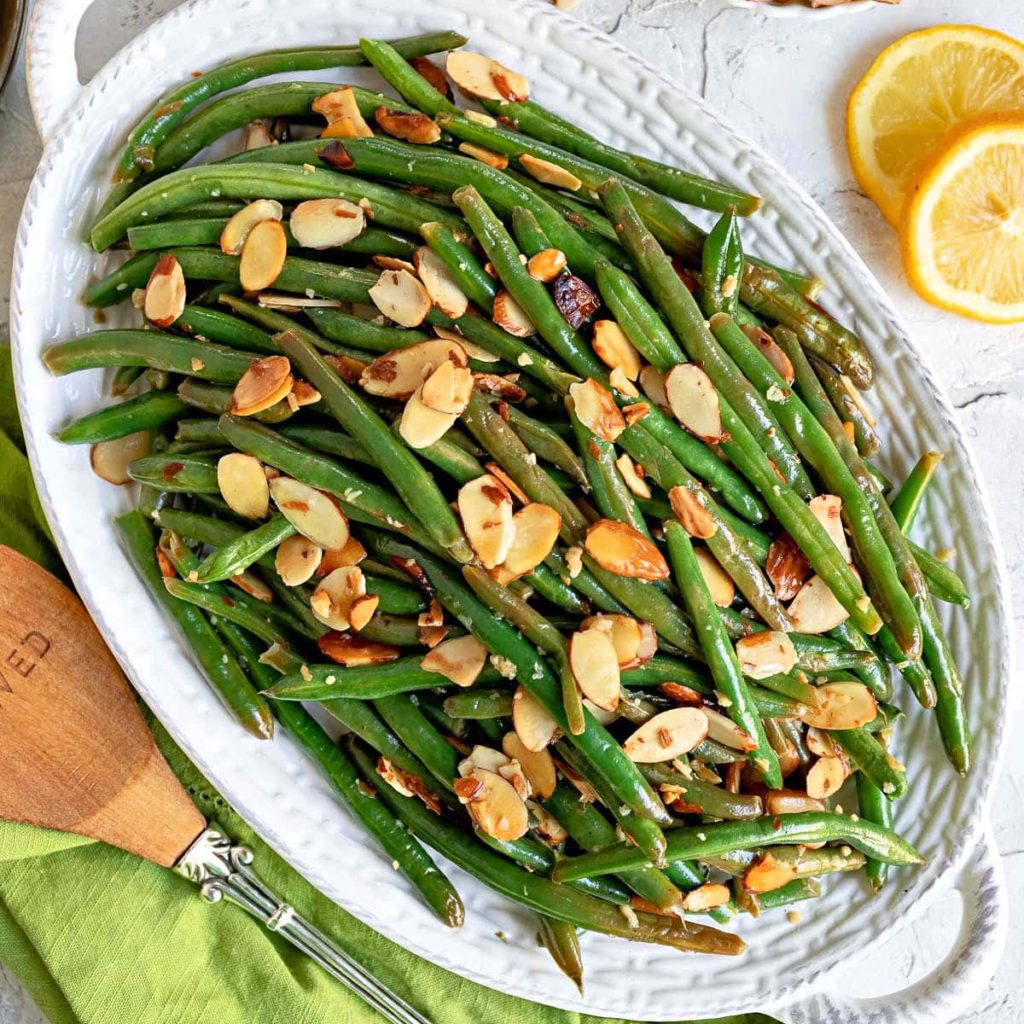
Green Bean Almondine complements chicken tenders perfectly. The crunchy almonds and zesty lemon juice provide a delightful contrast to the tender and flavorful chicken tenders, creating a well-balanced and satisfying meal. Enjoy the harmony of flavors!
3. Macaroni and Cheese with a Twist
Ingredients:
- Whole-grain macaroni
- Low-fat cheddar cheese
- Greek yogurt
- Steamed broccoli florets
- Bread crumbs
- Paprika
Instructions:
Step 1: Cooking Whole-Grain Macaroni
Start by cooking whole-grain macaroni following the package directions until it reaches the desired tenderness. Drain it and set it aside.
Step 2: Preparing the Cheese Sauce
In a separate saucepan, melt the low-fat cheddar cheese over low heat. Once the cheese is melted, mix it with Greek yogurt, creating a creamy and tangy cheese sauce.
Step 3: Combining Macaroni, Broccoli, and Cheese Mixture
Take the cooked macaroni and combine it with steamed broccoli florets in a large bowl. Pour the prepared cheese and Greek yogurt mixture over the macaroni and broccoli, ensuring everything is well coated.
Step 4: Baking the Dish
Transfer the macaroni and cheese mixture to a baking dish. Top it with a generous layer of bread crumbs for a delightful crunch, and add a dash of paprika for a touch of warmth and color.
Step 5: Baking to Perfection
Place the baking dish in the oven and bake the macaroni and cheese until it turns golden and starts bubbling. This should take a few minutes.
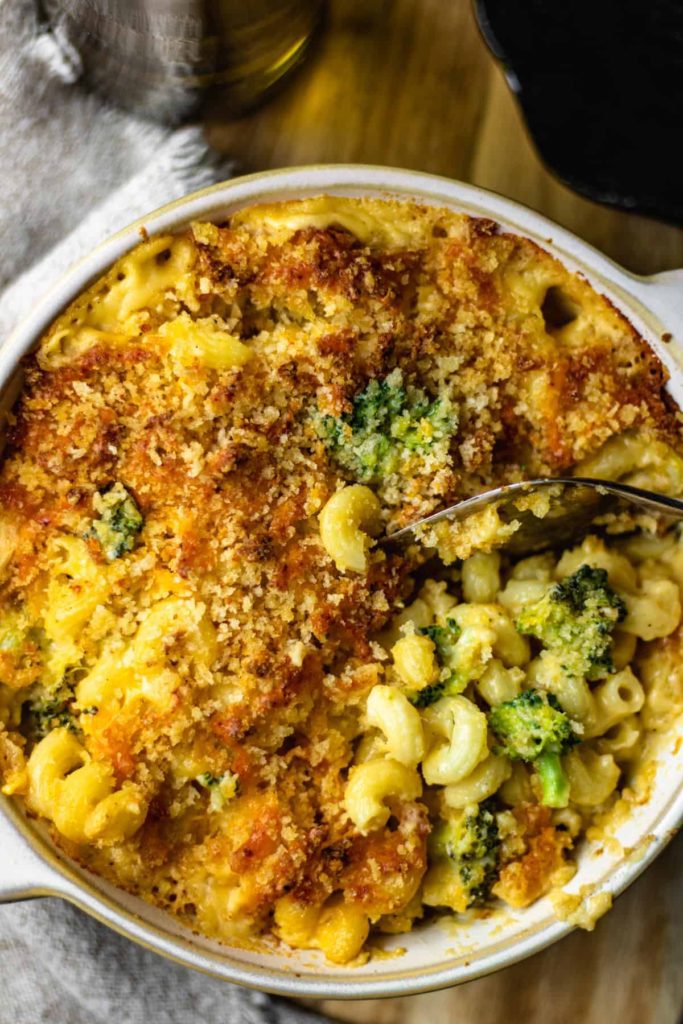
This isn’t your ordinary mac and cheese. Steamed broccoli adds a healthy and flavorful twist to the classic comfort food. Plus, it pairs wonderfully with chicken tenders.
4. Pasta Salad
Ingredients:
- Whole-grain pasta
- Cherry tomatoes
- Cucumber
- Red onion
- Black olives
- Fresh basil
- Olive oil and balsamic vinegar dressing
Instructions:
Step 1: Cooking the Pasta
Boil your choice of pasta in a large pot of salted water until it’s al dente. Drain the pasta in a colander, rinse it with cold water, and let it cool.
Step 2: Chopping Vegetables
While the pasta is cooling, prepare your vegetables. Chop bell peppers, cherry tomatoes, cucumbers, and any other veggies you like in your pasta salad.
Step 3: Preparing the Dressing
In a separate bowl, whisk together your favorite pasta salad dressing. You can use Italian dressing, balsamic vinaigrette, or any dressing of your choice.
Step 4: Mixing Ingredients
In a large bowl, combine the cooled pasta, chopped vegetables, and dressing. Toss everything together until all ingredients are well coated with the dressing.
Step 5: Refrigerating
Refrigerate the pasta salad for at least an hour to allow the flavors to meld together.
Step 6: Serving
Before serving, give it a quick toss to ensure everything is evenly dressed.
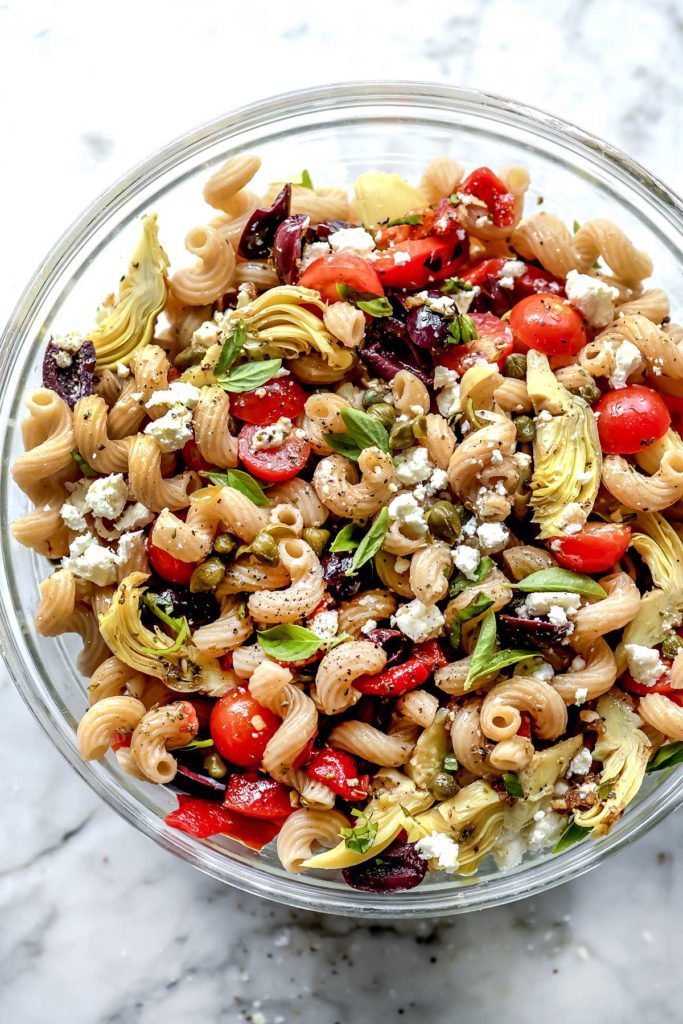
Pasta salad is a refreshing side dish with a burst of colors and flavors. It’s perfect for a light and satisfying meal alongside chicken tenders.
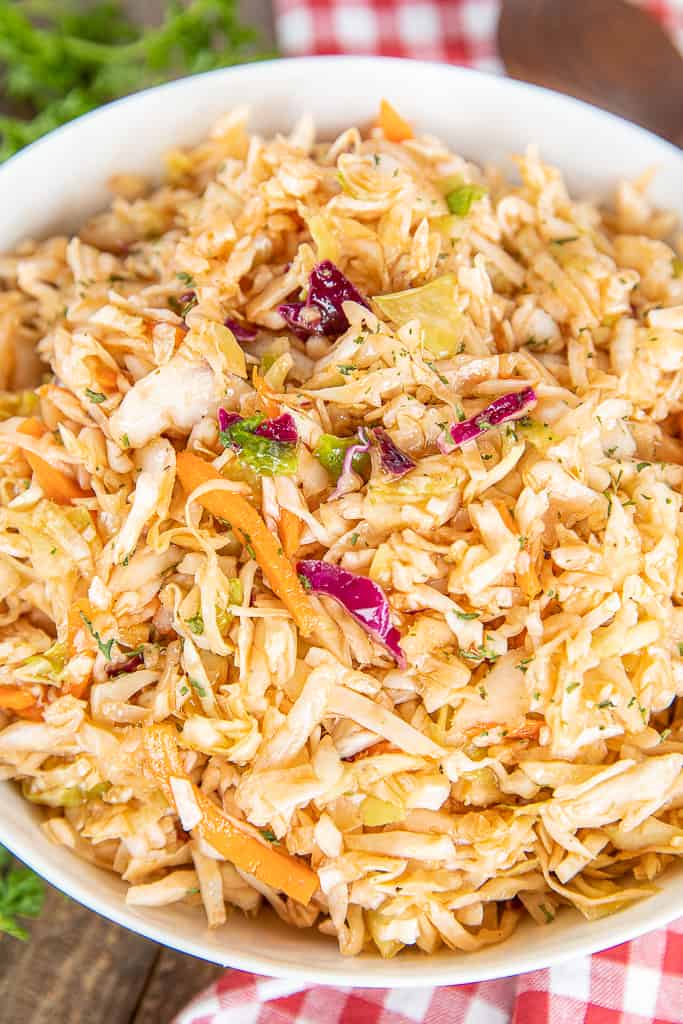
5. Barbecue Sauce and Slaw
Ingredients:
- Cabbage and carrots (for slaw)
- Low-fat slaw dressing
- Your favorite barbecue sauce
Instructions:
Step 1: Preparing the Slaw Base
Take fresh cabbage and carrots, essential ingredients for this dish, and proceed to shred them. Shredding ensures a pleasing texture and makes the slaw easy to enjoy alongside your chicken tenders.
Step 2: Elevating with Low-Fat Slaw Dressing
Now that you have the shredded cabbage and carrots ready, it’s time to elevate their taste and texture. To achieve this, toss them in a luscious low-fat slaw dressing. This dressing not only enhances the creaminess of the slaw but also brings a hint of tanginess that’s sure to complement your chicken tenders delightfully.
Step 3: Serving with Your Favorite Barbecue Sauce
The grand finale of this dish is the introduction of your favorite barbecue sauce. As you prepare to serve, provide a side of this flavorful sauce for dipping. The combination of tangy and slightly sweet barbecue sauce with the crunchy and refreshing slaw is sure to elevate your chicken tenders to new heights.
Whether you’re drizzling the barbecue sauce over your chicken tenders or dipping them generously, the result is a fantastic culinary journey. The harmonious marriage of flavors and textures in this duo creates a delightful twist that’s perfect for enhancing the enjoyment of your tender and crispy chicken tenders.
6. Baked Beans: An Easy Healthy Side To Eat With Chicken Tenders
Ingredients:
- Canned baked beans
Instructions:
Heat On The Stovetop
Heat the canned baked beans in the oven or on the stovetop. For the stovetop – Cover beans in a pot and simmer for 25 to 30 minutes.
Or Bake In The Oven
Preheat oven to 325°. In a large bowl, mix all ingredients. Transfer to a greased 3-qt. baking dish. Bake, uncovered, 1-1/4 to 1-1/2 hours or until bubbly.

Baked beans provide a rich and smoky flavor that pairs perfectly with the mild taste of chicken tenders, making them the perfect healthy side to eat with chicken tenders.
7. Air Fryer Zucchini Fries
Ingredients:
- Zucchini
- Olive oil
- Panko bread crumbs
- Seasonings (garlic powder, paprika, etc.)
Instructions:
Step 1: Preparing the Zucchini
To start, wash and dry the zucchinis. Trim off the ends and cut them into uniform fry-like shapes. Make sure they are not too thick to ensure even cooking.
Step 2: Coating the Zucchini
In a bowl, combine the breadcrumbs, grated Parmesan cheese, garlic powder, paprika, and a pinch of salt and pepper. Mix these dry ingredients well to create a flavorful coating for your zucchini fries.
Step 3: Dipping in Egg
In a separate bowl, whisk the eggs until they are well beaten. This will act as the binding agent to help the breadcrumb mixture adhere to the zucchini.
Step 4: Breading the Zucchini
Now, it’s time to bread the zucchini. Take each zucchini fry, dip it into the beaten egg, and then roll it in the breadcrumb mixture, ensuring it’s evenly coated.
Step 5: Air Frying
Preheat your air fryer to 375°F (190°C). Once preheated, place the breaded zucchini fries in a single layer in the air fryer basket. You may need to cook them in batches, depending on the size of your air fryer.
Step 6: Cooking to Crispy Perfection
Air fry the zucchini fries for about 12-15 minutes or until they turn golden and crispy. Make sure to flip them halfway through the cooking time to ensure even browning.
Step 7: Enjoying the Zucchini Fries
Serve the zucchini fries while they are hot and crispy. These air fryer zucchini fries make for a fantastic and healthy side dish to accompany your delicious chicken tenders.
Zucchini fries offer a delightful crunch without the guilt. They’re a low-calorie alternative on the list of healthy sides to eat with chicken tenders.
8. Tomato and Cucumber Salad
Ingredients:
- Fresh tomatoes
- Cucumber
- Red onion
- Olive oil and balsamic vinegar dressing
- Fresh basil
Instructions:
Step 1: Preparing Fresh Ingredients
Start by gathering the freshest ingredients for your tomato and cucumber salad. You’ll need ripe tomatoes, crisp cucumbers, and a red onion. Ensure the vegetables are washed and clean.
Step 2: Slicing Tomatoes and Cucumbers
Slice the tomatoes and cucumbers into thin, round slices. For added visual appeal, consider using different-colored tomatoes. If you prefer a different shape, you can also dice them into bite-sized pieces.
Step 3: Chopping Red Onion
Take the red onion and chop it into fine pieces. If you enjoy the mild onion flavor, you can use it generously, but adjust the quantity to your taste.
Step 4: Combining Vegetables
In a large salad bowl, combine the sliced tomatoes, cucumbers, and chopped red onion. This combination provides a wonderful blend of flavors and textures.
Step 5: Preparing the Dressing
To create the perfect dressing for your tomato and cucumber salad, mix extra virgin olive oil, balsamic vinegar, minced garlic, dried oregano, salt, and pepper in a separate bowl. Whisk the ingredients together to ensure they are well combined.
Step 6: Dressing the Salad
Drizzle the dressing over the mixed vegetables in the salad bowl. Gently toss the salad to ensure all the ingredients are coated with the flavorful dressing.
Step 7: Chilling for Freshness
To enhance the refreshing quality of the salad, refrigerate it for about 20-30 minutes before serving. This step allows the flavors to meld together.
Step 8: Garnishing and Serving
Before serving, garnish the salad with fresh basil or parsley leaves for a burst of color and an extra layer of flavor. This tomato and cucumber salad is the perfect side dish to accompany your delicious chicken tenders.

This salad is fresh, light, and filled with the flavors of summer. It’s a healthy option on the list of healthy sides to eat with chicken tenders.
9. Grilled Asparagus
Ingredients:
- Fresh asparagus
- Olive oil
- Garlic
- Lemon juice
- Salt and pepper
Instructions:
Step 1: Choosing Fresh Asparagus
Begin with selecting fresh asparagus spears. Look for firm, bright green spears with tightly closed tips. You can tell that asparagus is fresh when it snaps crisply at the ends.
Step 2: Trimming the Ends
Hold one asparagus spear and bend it gently. The spear will naturally snap at the point where the tender part begins. Use this as a guide and trim the ends of all your asparagus spears to remove the tough, woody portions.
Step 3: Preparing the Marinade
In a bowl, create a simple marinade by mixing olive oil, minced garlic, fresh lemon juice, salt, and pepper. This marinade will infuse the asparagus with delicious flavors.
Step 4: Marinating the Asparagus
Place the trimmed asparagus spears in a shallow dish or a resealable plastic bag. Pour the marinade over the asparagus, ensuring that each spear is well coated. Seal the bag or cover the dish and allow the asparagus to marinate for at least 15-30 minutes. This marination enhances the taste.
Step 5: Preparing the Grill
Preheat your grill to medium-high heat. If you don’t have a grill, you can use a grill pan on your stovetop. Make sure the grates or pan are clean and lightly oiled to prevent sticking.
Step 6: Grilling the Asparagus
Remove the marinated asparagus from the dish or bag and place them directly on the grill grates or the grill pan. Grill the asparagus for about 2-4 minutes per side, turning them occasionally until they become slightly charred and tender.
Step 7: Garnishing and Serving
Once grilled to perfection, transfer the asparagus to a serving platter. You can garnish it with a sprinkle of grated Parmesan cheese, fresh lemon zest, or a drizzle of balsamic glaze for added flavor.
Step 8: Enjoying Your Grilled Asparagus
Grilled asparagus is my family favorite on the list of healthy sides to eat with chicken tenders. Asparagus pairs wonderfully with your tasty chicken tenders. It’s a healthy and flavorful side dish that provides a perfect balance to your meal.
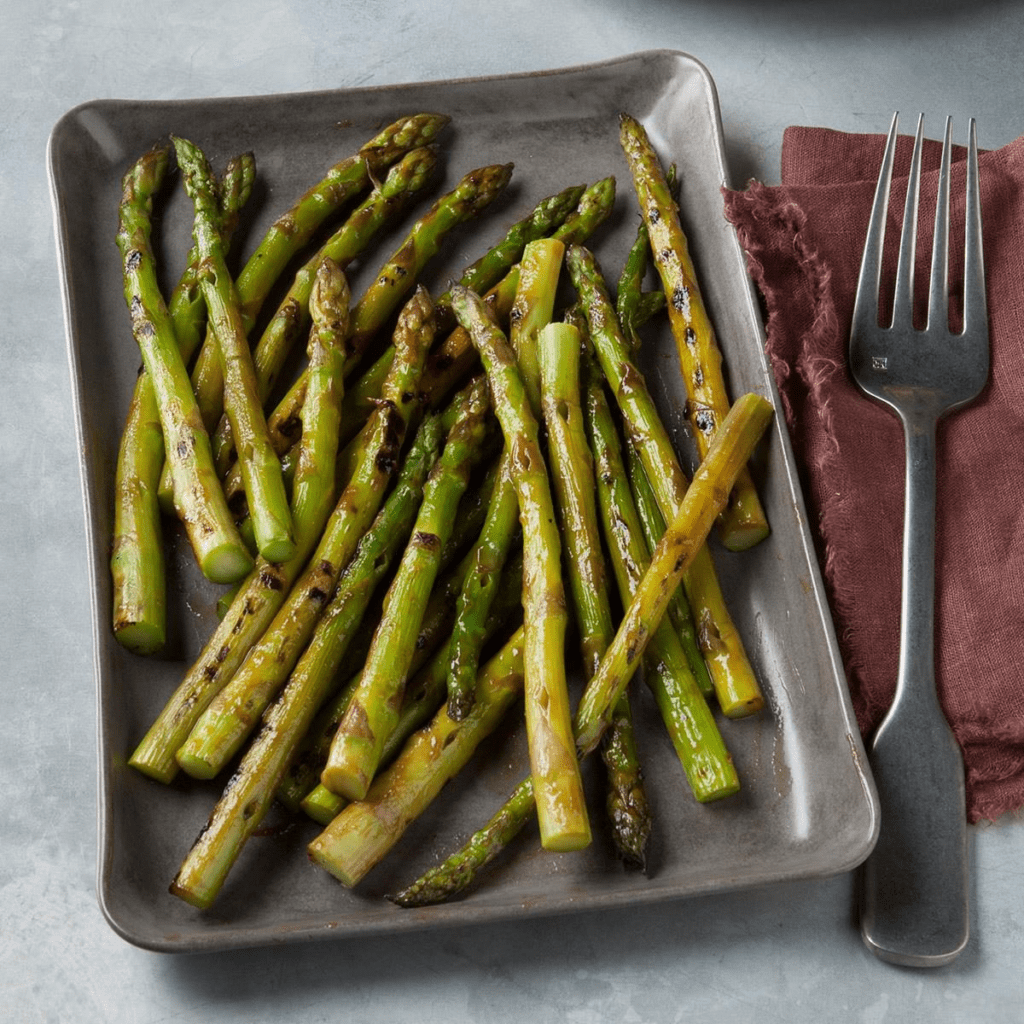
Grilled asparagus adds a lovely smokiness and crunch, making it a great partner for chicken tenders.
10. Homemade Coleslaw
Ingredients:
- Shredded cabbage and carrots
- Greek yogurt
- Apple cider vinegar
- Dijon mustard
- Honey
- Celery seed
- Salt and pepper
Instructions:
Step 1: Mixing the Dressing
In a mixing bowl, blend together Greek yogurt, apple cider vinegar, Dijon mustard, honey, celery seed, salt, and pepper. This combination creates a creamy, tangy, and slightly sweet dressing for your coleslaw.
Step 2: Combining Veggies and Dressing
Transfer the shredded cabbage and carrots to a large bowl. Pour the creamy dressing over the vegetables. Ensure that each strand of cabbage and carrot is well-coated by the dressing. Gently toss and mix until the dressing evenly covers the veggies.
Step 3: Chilling for Freshness
Cover the coleslaw bowl and refrigerate it for at least an hour before serving. This chilling period allows the flavors to meld, making your coleslaw even more delicious.
Step 4: Serving Your Healthy Coleslaw: Perfect Healthy Side To Eat With Chicken Tenders
Now, your homemade healthy coleslaw is ready to be served as a wonderful side dish. Its creamy and tangy taste adds a fresh and nutritious element to your meal, perfectly complementing as a healthy side to eat with crispy chicken tenders.

More healthy sides:
11. Avocado Corn Salad
Ingredients:
- Diced avocado
- Fresh corn kernels
- Cherry tomatoes, halved
- Red onion, finely chopped
- Fresh cilantro, chopped
- Lime juice
- Olive oil
- Salt and pepper
Instructions:
- In a large bowl, gently toss together the diced avocado, fresh corn kernels, cherry tomatoes, red onion, and cilantro.
- Drizzle with lime juice and olive oil, then season with salt and pepper.
- Serve chilled alongside your crispy golden chicken tenders for a refreshing, full of flavor side dish.
12. Garlic Parmesan Cauliflower Bites
Ingredients:
- Cauliflower florets
- Olive oil
- Panko breadcrumbs
- Grated Parmesan cheese
- Garlic powder
- Salt and pepper
- Sour cream (for serving)
Instructions:
- Preheat your oven to 425°F (220°C).
- Toss the cauliflower florets in olive oil, then coat evenly in a mixture of panko breadcrumbs, grated Parmesan cheese, garlic powder, salt, and pepper.
- Arrange the florets on a baking sheet and bake until they turn crispy golden.
- Serve with a dollop of sour cream as your favorite dipping sauce for an extra burst of flavor.
These healthy side dishes for chicken tenders not only enhance your meal but also provide a variety of flavors and nutrients. Whether you prefer a refreshing salad, a savory slaw, or a crunchy veggie side, there’s something for every chicken tender lover. It’s time to elevate your chicken tender experience with these delicious and nutritious sides.
Remember to explore more healthy grocery store items for your next culinary adventure. If you’re looking for a quick and easy meal, check out our guide to quick and easy healthy meals.
Now, it’s over to you. Which of these healthy sides will you be serving with your next batch of chicken tenders? Share your favorites in the comments below. Enjoy your delicious and wholesome meal!


All mouth watering sides! I love a goo sweet potato fry. I recently tried making zucchini fries and they came out really well.